Lining the Sleeves
- britty.l.turner
- Nov 5, 2019
- 3 min read

Sometimes, my arms are what gets chilly. The rest of me, which is typically already layered with everything from a tank top to whatever undergarments are on that day, usually stays fairly warm in the wonderful New England fall weather. When I got my hands on this amazing two-toned Double Brush Poly, I was excited for the extra warmth it would give me. I was even more excited when I realized I could easily double up on the fabric to keep myself extra warm.
A double-layer sleeve is a very easy hack to attain, especially for beginners. This adjustment requires no extra tools, just double the regular amount of sleeve material - it can also be used on virtually any pattern, but is especially useful for dolmans.
The Dream Tee pattern piece for the sleeve makes this hack even easier. Simply fold your fabric over twice- once on the width and once on the length. Line up the bottom hem edge of the pattern piece to the bottom of the width of your fabric. The greatest stretch of your fabric should be going across the width of the pattern piece to give you the best results. Slide the piece down just over the fold - essentially removing the hem allowance from the bottom of the sleeve.
Once your sleeve is cut, mirror your pattern piece and repeat for sleeve number 2. Make sure the folds are still lining up the same way.
Take your pieces and fold them so that the fabric is right-sides-together length-wise. It should have wider outer edges and thin out in the middle of the piece. Sew or serge along the length, making one long tube. Once you have your tube, take one outer edge and fold towards the other, encasing the seam inside and bringing the wrong sides together. This is also a great options for those with sensory issues who may not enjoy the feeling of a seam on their arm, especially with thicker or more sturdy fabrics.

Your sleeve should look like this- a fold of double-layer fabric where the hem would otherwise go. The best part of this? Its one less hem you need to sew and one less cuff to attach. Press the end of your sleeves, creating a crease and making it easier for you to line up the outer edges because now it's time to attach these to your bodice pieces.
Make sure you have sewn your bodice pieces together for both the shoulder seams and the side seams. Everything should be pieced together and should have the wrong side out, so you can still see all the seams. Slide one sleeve through one of the arm holes so that the wider end is right sides together with the bodice. You should still be looking at the wrong side, with the exposed seams of the bodice. Make sure the seam line from the sleeve lines up with the side seam of the bodice. This is important, because this should be the bottom of your sleeve and will create a funky fit otherwise. Pin or use clips to attach the top of the sleeve to the bodice pieces, making sure everything fits and lines up. You may need to stretch your sleeve slightly, but it should not require more than minimum effort. Once you have finished clipping/pinning your sleeve, it is time to serge or sew. Make sure you are using a stretch stitch if not using a serger, especially on this high-traffic seam. Repeat on the other side. Make sure your top is hemmed (or banded, whichever is your thing!), has a neckband (if you didn't fully line the bodice) and you're ready to go!
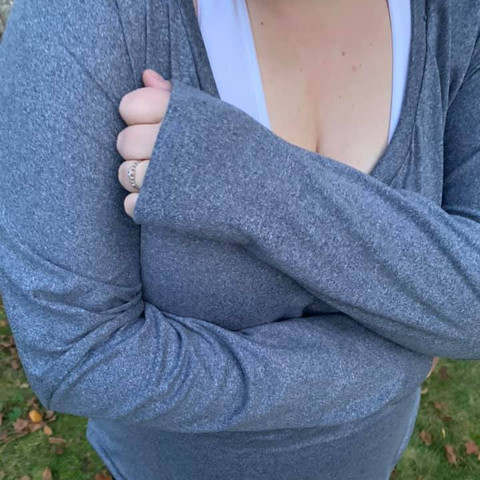
In my photos, I am wearing the two-tone double brushed poly Dream Tee with a lined sleeve. It is the softest, comfiest shirt I currently own and I will definitely be making more.


Comments